

by Anne Clarke
The beautiful ambiance of an outdoor waterfall is virtually always a refreshing experience for both the mind and spirit. As a matter of fact, elegant and elaborate waterfalls have been around throughout history as outdoor décor for nobility and other important figures in the past. When you install a beautiful waterfall in your own garden, it will be the best home project you ever take on.
When you discover the best place and creative idea for your own personal outdoor waterfall, all you need are the tools with which to make the elegant environment of your imagination come to life.
Getting Excellent Materials and Plans
The highest quality materials available for the design of a garden or outdoor waterfall are much less costly than combining the cost of those materials with manual labor. You can create your own garden waterfall without hiring a professional by finding designs for outdoor waterfalls that are very simple and inexpensive to build.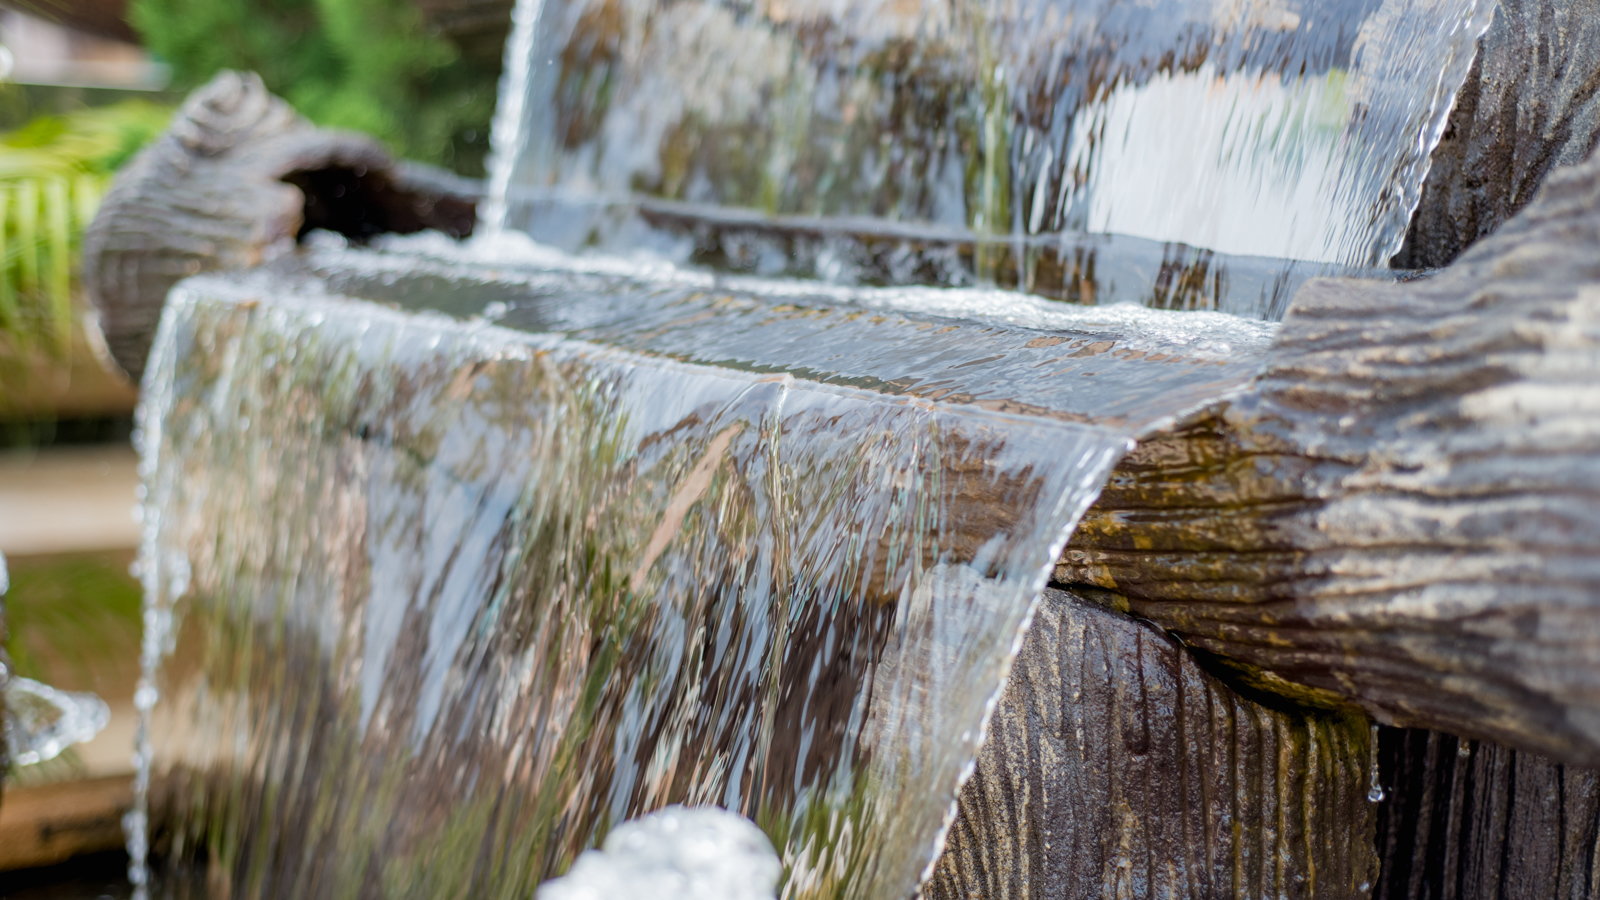
There are specific structures, ways to plan, and certain forethought needed for the waterfall you build. Among the many waterfall possibilities, you will find options to build, design, and create one all on your own. Consider your base, or, the pool into which the water from your waterfall will descend. You must also, of course, consider the structure of the waterfall itself. Often, creating a waterfall uses rock, which many people harvest from their own property – if not, there are many kinds of rock available for you to purchase.
There are, of course, other styles of waterfalls like waterfalls made of bamboo or brick.
Supplies for Inexpensive, Elegant Waterfalls
1. It is a great idea to use rocks, and, as a matter of fact, it may be the best and certainly one of the most inexpensive ways to go about making your own waterfall.
2. You will need a submersible pump.
3. You will need tubing to run from the pump to the top of the waterfall, re-circulating the water as it pours constantly down.
4. You will need a large, preferably plastic flower pot to house your tubing.
5. Purchase a rigid pond liner for your outdoor waterfall.
6. You will need a carpenter’s level.
7. Make sure you have an adequate shovel, of course, before you start to dig.
8. You will need sand and, of course, a good garden hose.
All of the above things are available at virtually any hardware store – so it is easy to get going. Be sure to consider the space and the base above all else. The more secure, durable, and dependable your waterfall’s base is, the better your waterfall will turn out and the simpler it will be to maintain.
You will want to choose the best design for your waterfall that will suit your personal taste aesthetically and that will certainly best suit your space. No matter what amount of space you have, a cascade design will be a great idea for virtually any outdoor waterfall. You can make the waterfall cascade down a slender area of your garden.
You can also use a waterfall that cascades from more than one source; to do so, purchase more than one pump. Especially if you have a large space to fill and a wild imagination for elaborate design, you may want more than one source of falling water. Create a hole in the plastic flower pot or flower pots and thread your tubing through the hole.
How long should the tubing be? Well, that will be determined by many things. Unfortunately, you will really have to do some strict measuring before you choose the length. The most important thing to remember is that too much is much better than too little when you purchase tubing for your outdoor waterfall. Do not try to get the perfect measurement and cut the tubing any sooner than you absolutely need to. When you finally do complete the cutting, leave yourself extra tubing – in other words: measure more than you need.
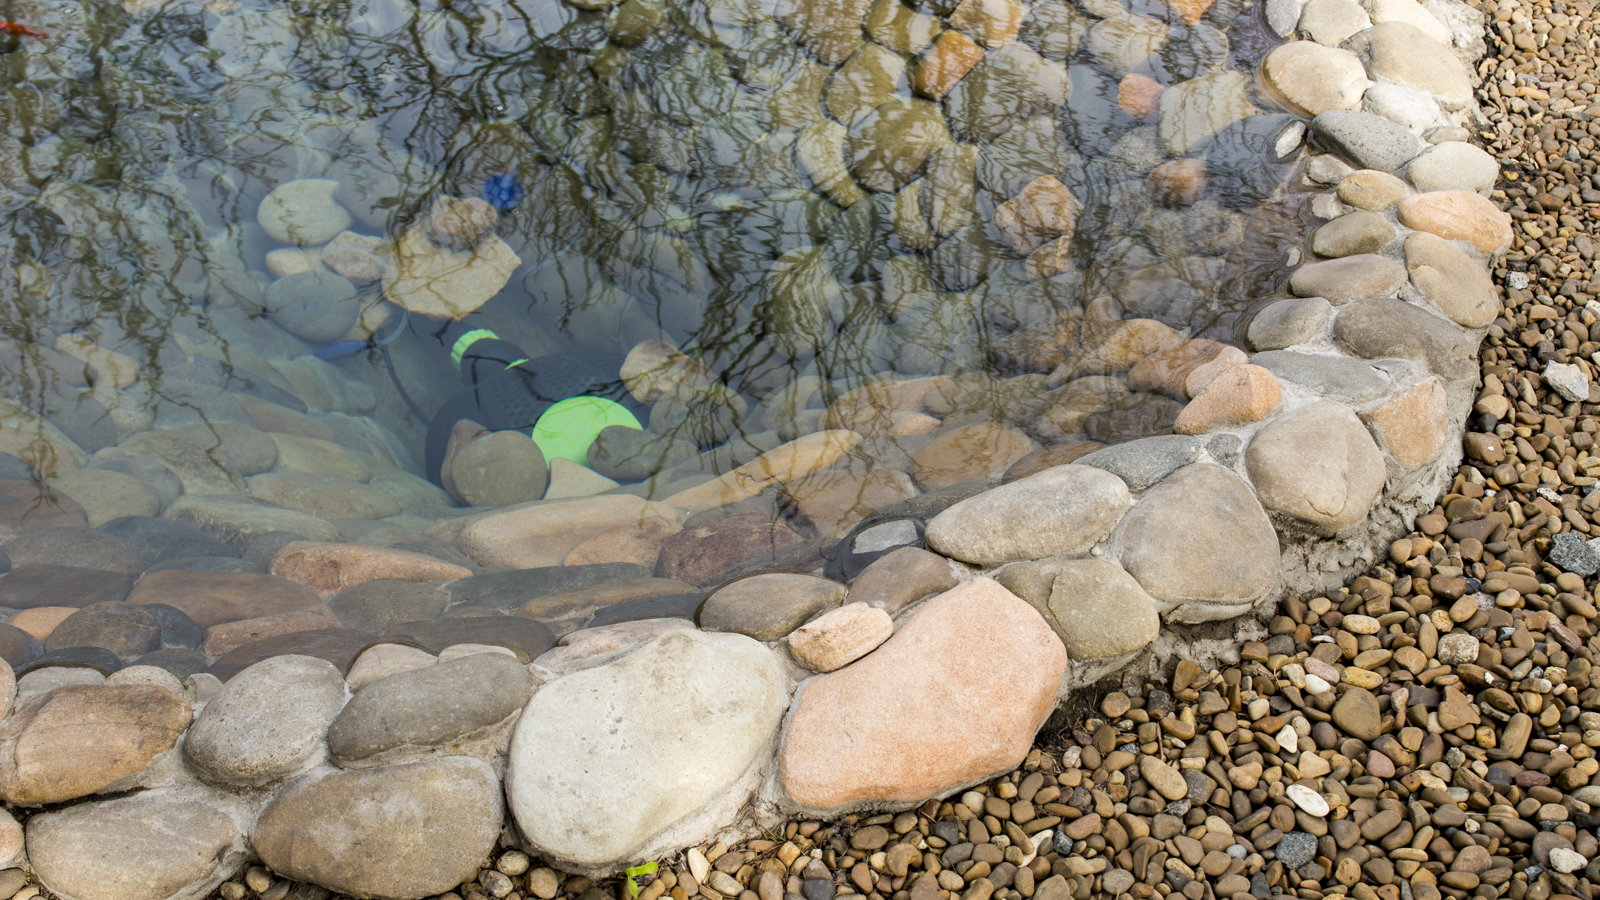
The first step is creating a pond-base or pond-like pool for the bottom of the waterfall. You will create a spillway, with the rocks in a cascade design. A spillway is often composed of long, slate-like stone – even using two of these rocks will provide a multi-tiered effect. With smooth edges on the rocks, the water will have more of a tendency to curve or duck almost under the rock. When your rocks have a sharp and square-like shape to them, the water will drop more in the way you would expect it to, cascading rather than disappearing.
Lay the black plastic of your garden pond or base into the ground, making sure it is properly secured. Then you should line the area with rocks. The rocks that you use at the bottom of your pond or waterfall base are not as important in shape, size, or even in what they look like, as the rocks you will use in the design of your waterfall. Most importantly, the rocks that will dictate the course of your waterfall’s flow and descent are the ones that you should be more concerned about.
One great idea is to cover the undermost layer of rock with one long piece of flat rock that will cover virtually the entire base. Then, place your next layer of rocks above this sheet. Once this is done, you have your base built. You must be sure it is ready to go and that you have taken your time on it before moving to the next step, of course.
At this time you should begin to build your rock wall. When you have your equipment ready and decide to build a rock wall, you should try to stagger the seams a bit as you build it. This means that your rocks should not be made to lie directly above one another, but rather asymmetrically. This actually has much less to do with structure and more to do with aesthetics.
When you have finished building your rock wall and, again, have made certain that the structure is absolutely secure and you are ready to move on, you will move on to the spillway itself. Begin by trying to figure out the very best position to place your spillway rocks on top of your shelf rock.
Essentially, you want to build four mini rock walls where you will be placing your submersible pump. These should be designed to encase the plastic flower pot, in essence, boxing it in. If you have multiple spouts or water sources for a more elaborate design, you will, naturally, need a box-shaped stone wall for every submersible pump. You will have to think about the tubing, since many people create grooves or ditches in the rock wall in which the tubing can be placed. And, of course, remember to have some extra length to work with once you set in the tubing itself.
Place two longer stones across the top of your structure to span the walls and form a sort of overhang. The very first spillway rocks should be placed on the top of your shelf rock. It should reach out as far as possible for your spillway. Ideally, the top spillway rock should reach out above the center of the water at the base. Nonetheless, this is sometimes very difficult to accomplish, but it is not impossible. In such a case, just have the largest piece of rock jut out as far as it will over the water when you apply it into the shelf rock. You should also remember to elevate your top spillway rock slightly in the back, to create a sort of angle or chute down which the water can fall.
Once your spillway rocks have been set in place, arrange the tubing and pump or pumps to create the waterfall and allow it to begin to cascade. First, you fill the base and test the pump. It is possible that you will need to make many adjustments to get the flow of water and pump to the waterfall in the perfect cascade. There will be a certain amount of bending of the tubing involved, but it should extend from the pump base to the top of the fall with as much ease as possible. Of course, at the same time you will want the tubing to hide; some people paint and mount their tubing. Some people hide their tubing in the rock wall, depending on how it will all look in the end and how much difference it makes to you. Many people consider visible tubing for their pump an eyesore compared to the rest of the waterfall.
This will be a time of trial and error until you have the waterfall exactly the way you want it. You will primarily be working with water pressure at this point. The more height your last spillway rock has, the more splash you can create depending on water pressure. If you are going for no more than a calming flush or gurgle, you will want to increase the amount and span (or width) of the water falling across the last spillway stone. The width of the stone (all of your stones, in fact) is important, as is the width of the stream of water that pours from it.
The end is the most fun: you will have in the entire experience of making this lovely display. Now it is time to perfect your creation. So play around with it until you are happy with the flow, the ambiance, the soothing environment around you – and you will love what you have done.
In the end, it is time to relax and unwind. In the calming presence of an inexpensive yet breathtaking landscape of refreshing coolness and humidity, soothing sounds, and luxurious design all your own, you will be proud of yourself! Your outdoor waterfall will be beautiful, a simple and inexpensive project you can do all on your own.
About the Author:
Anne Clarke writes numerous articles for websites on gardening, parenting, fashion, and home decor. Her background includes teaching, gardening, and fashion. For more of her articles on fountains, please visit pond-o-mania.com, supplier of high quality Solar Fountains and Pond Supplies.